I'm happy to share this incredibly easy and delicious Cinnamon and Ground Clove Apple Crumble that's naturally gluten-free, dairy free and vegan. This easy crumble recipe has lovely warming spices that bring out the best in an apple dessert. Also, I ...
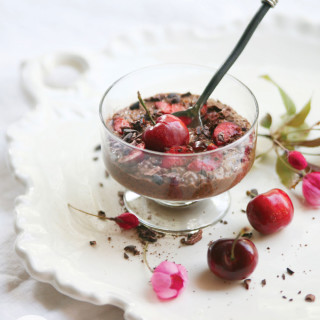
Chocolate Vanilla Chia Pudding
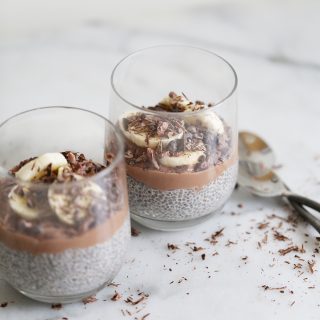
Hello my dear friends, today I have an easy and delicious treat for you... a Chocolate Vanilla Chia Pudding ~ so good and good-for-you! A super healthy dessert or snack that tastes decadent and rich yet is made up of incredibly great ...
Hemp Protein Energy Balls with Manitoba Harvest Giveaway
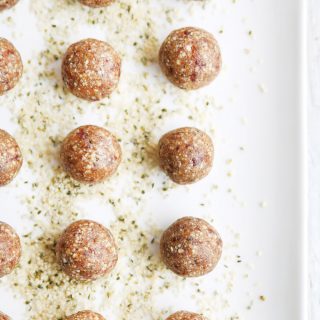
I'm so excited to share about Manitoba Harvest and their excellence in hemp heart production! :) I have a great recipe for Hemp Protein Energy Balls that I'm sharing below and an exciting GIVEAWAY from Manitoba Harvest. (Giveaway Closed) The Giveaway ...
No-Bake Raw Berry Cheesecake (vegan, paleo)
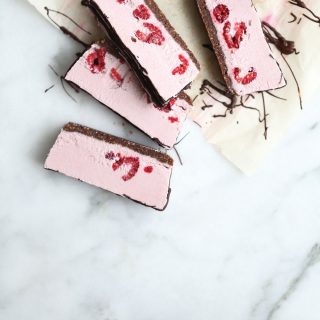
WOW... Is perhaps all I can say when it comes to this gorgeous No-Bake Raw Cheesecake! Seriously... if you're agreeing that this cake is stunning - I have to add that it is also incredibly delicious and oh so indulgent yet nice and light. Such a ...
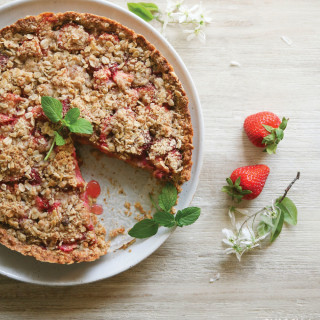
6 Ingredient Blueberry Blackberry Pie
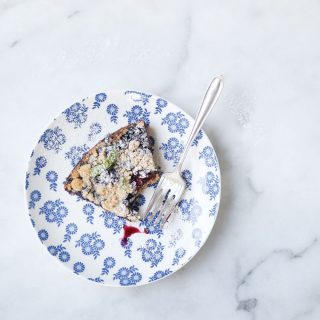
So I just love crumble pies and I think you will love them too once you see how easy and quick these are to make. This 6 Ingredient Blueberry Blackberry Pie is also naturally gluten-free and vegan and super delicious! I can make crumble pies ...