I owe it all to my mom… as a child I remember simple gatherings around the table for tea and a baked dessert. I remember how I anticipated her taking out the ingredients and yearned for those first scents of a home baked dessert still in the oven.
I remember how quickly she threw it together and in no time a delicious dessert appeared on our kitchen table. Then that first bite… and time stood still as I enjoyed it to the last crumb. It was plate licking good ;)
It was a Sunday ritual to have a home baked dessert, and quite often it was fruit-filled crumb squares. For years I knew Sunday’s were special. It was a time for family and simple moments you are meant to treasure…
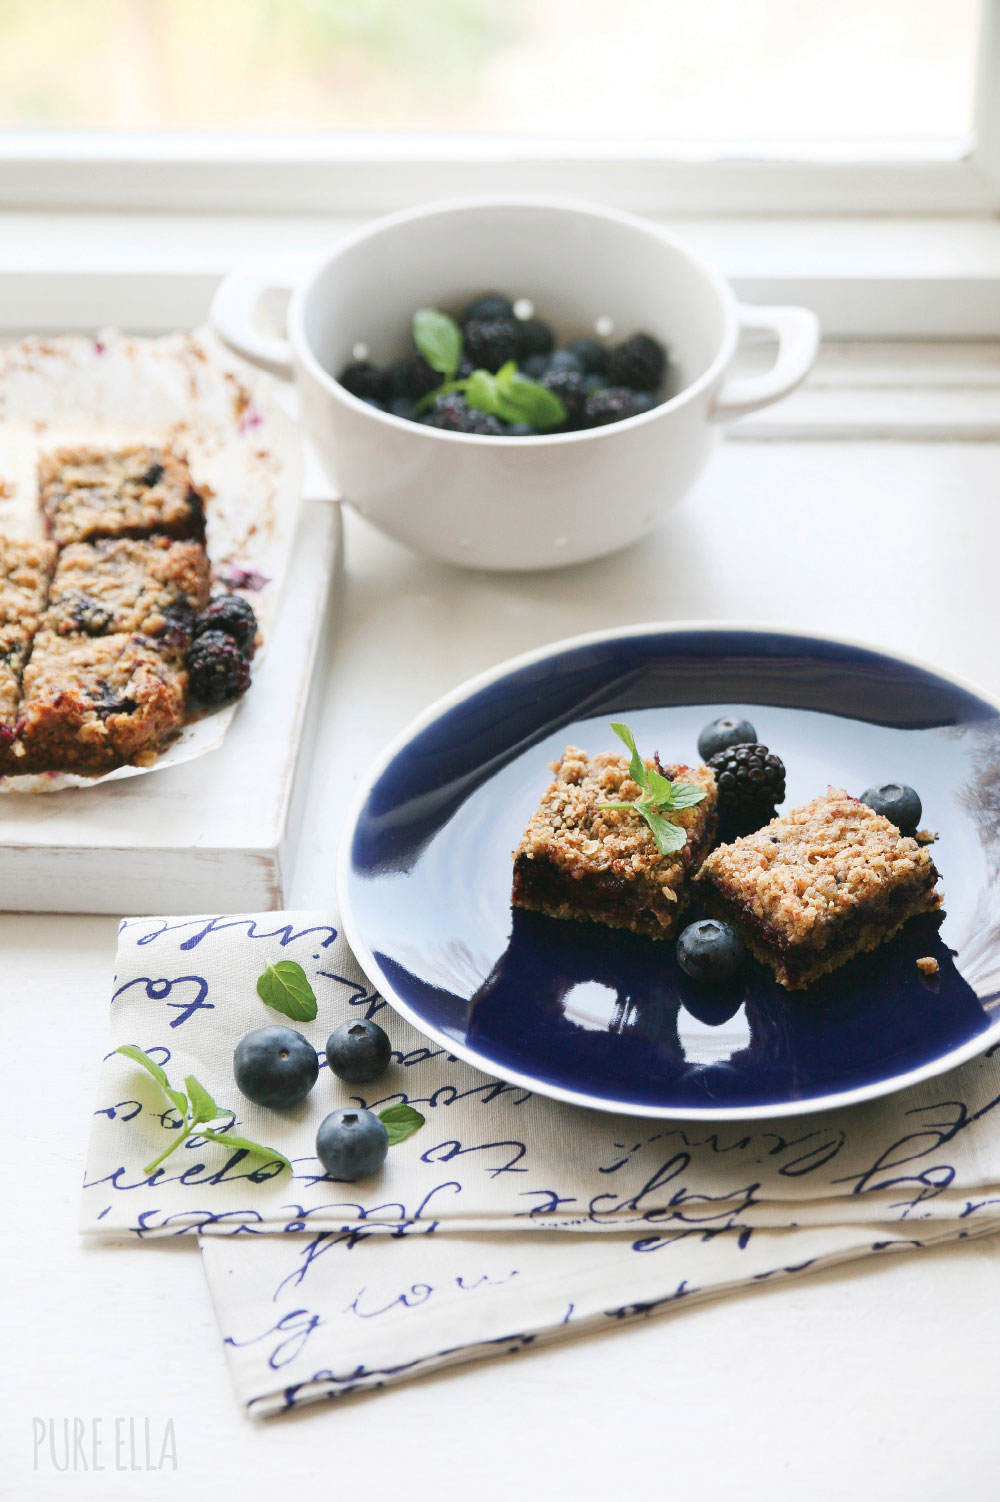
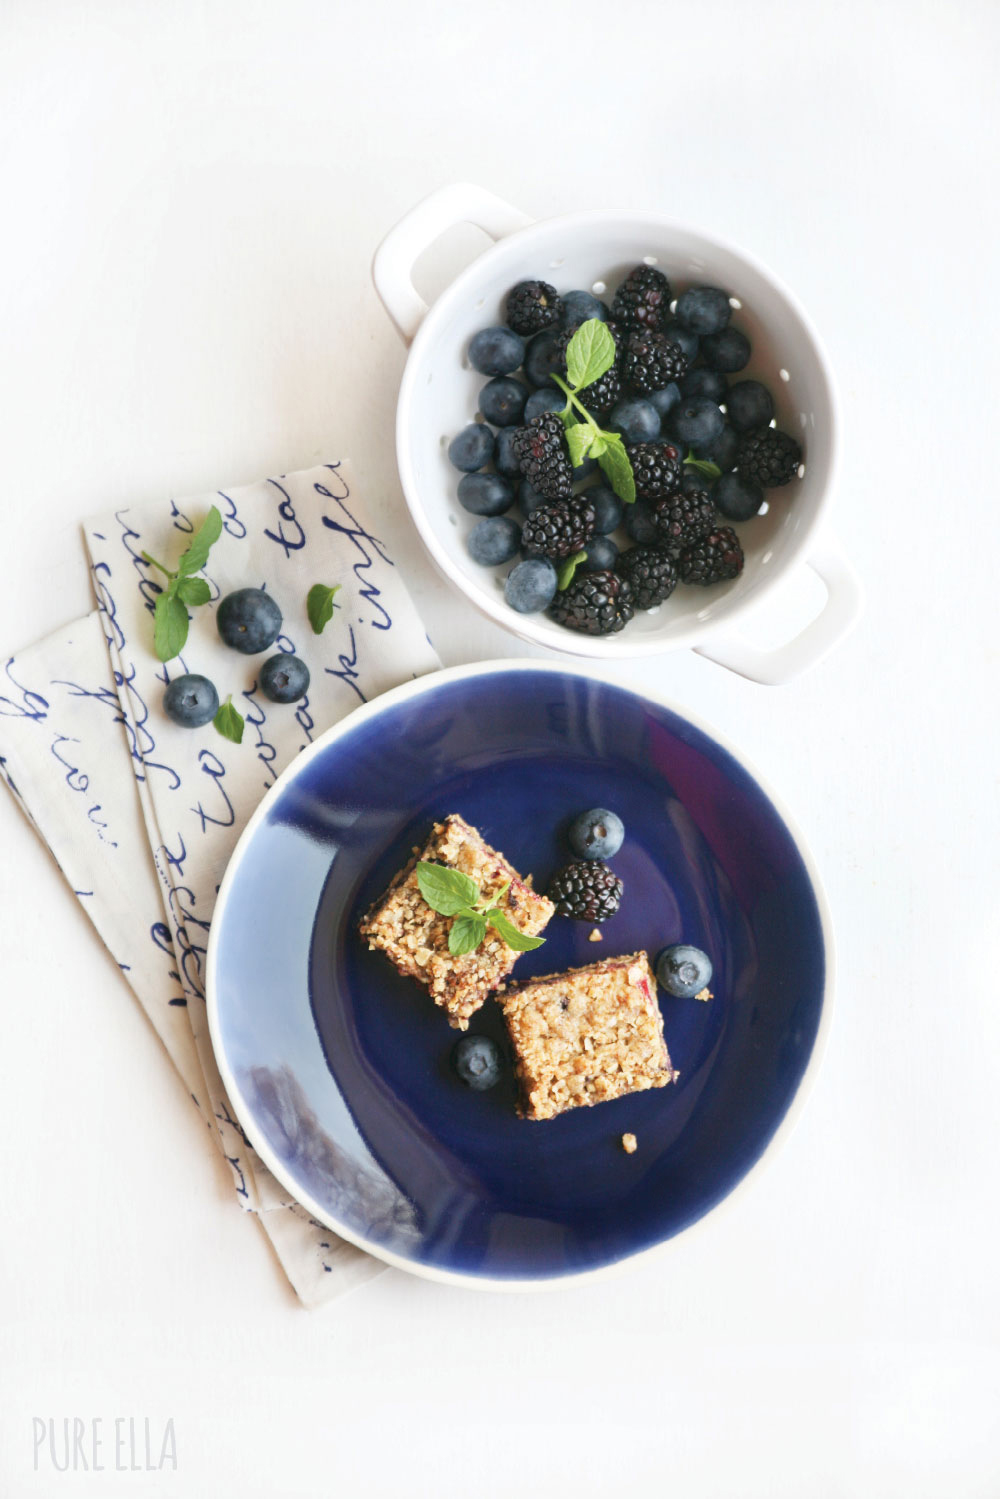
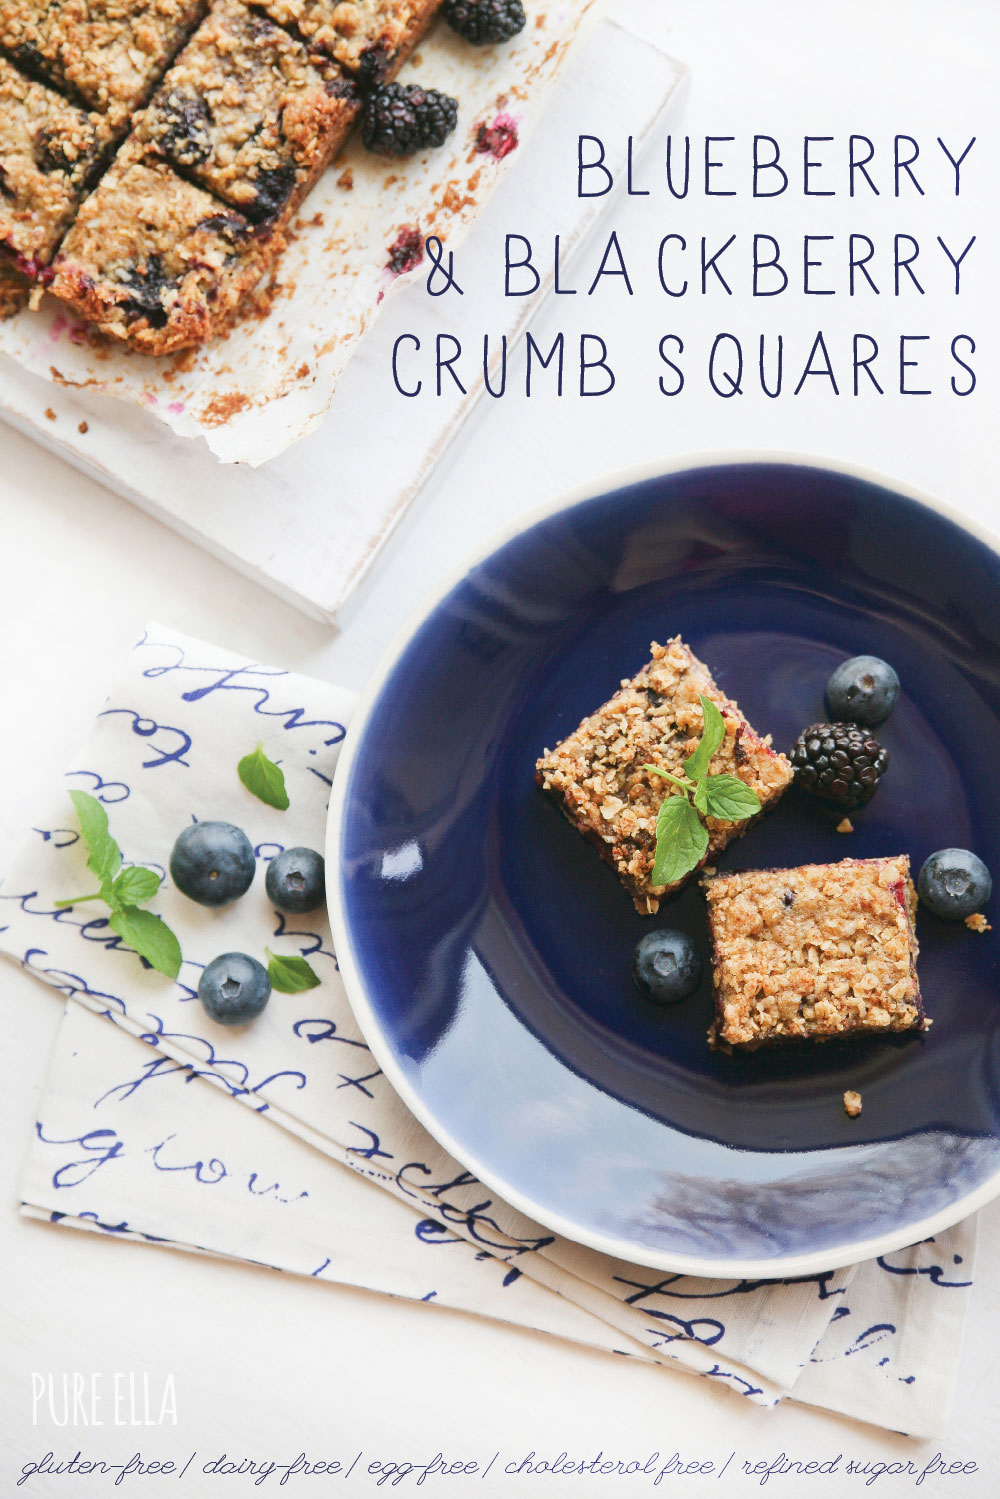
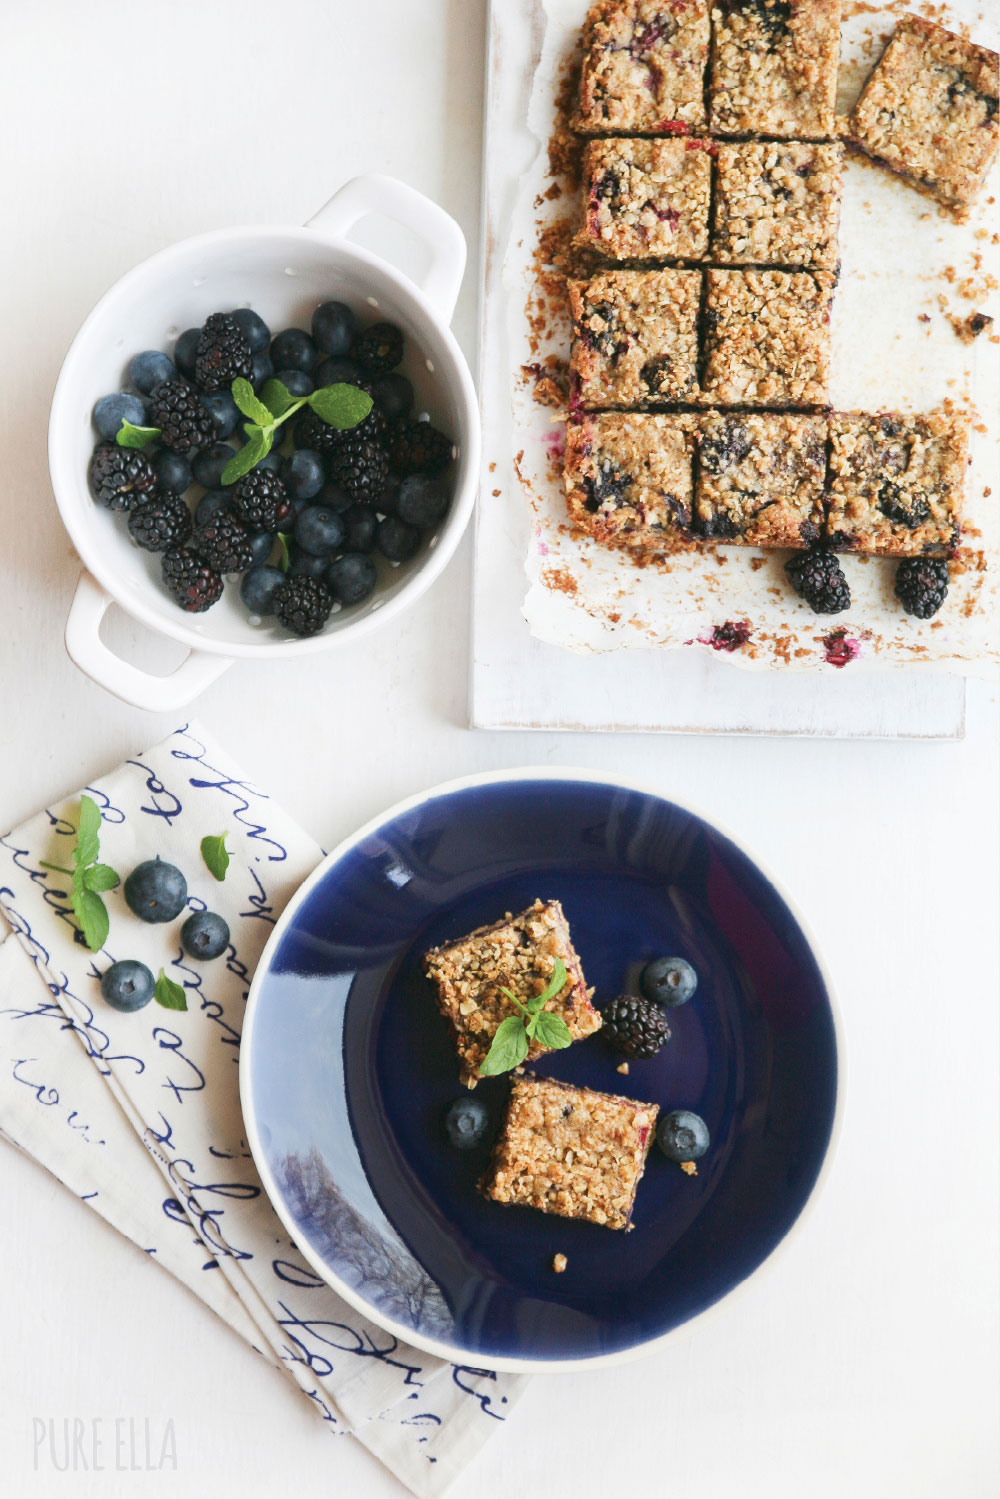
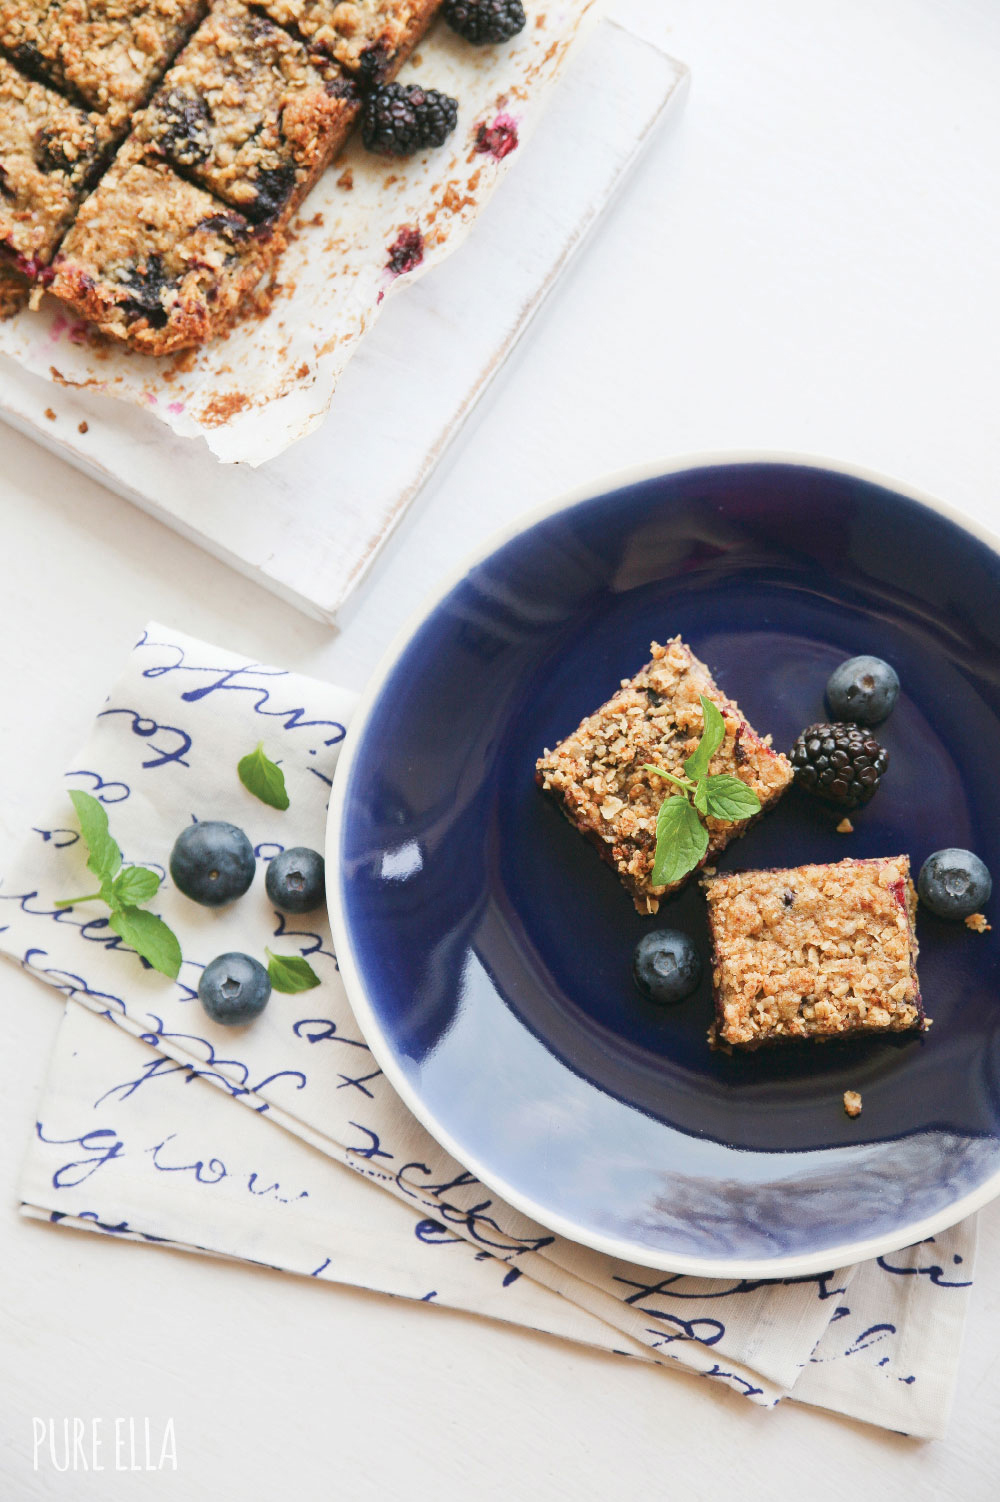
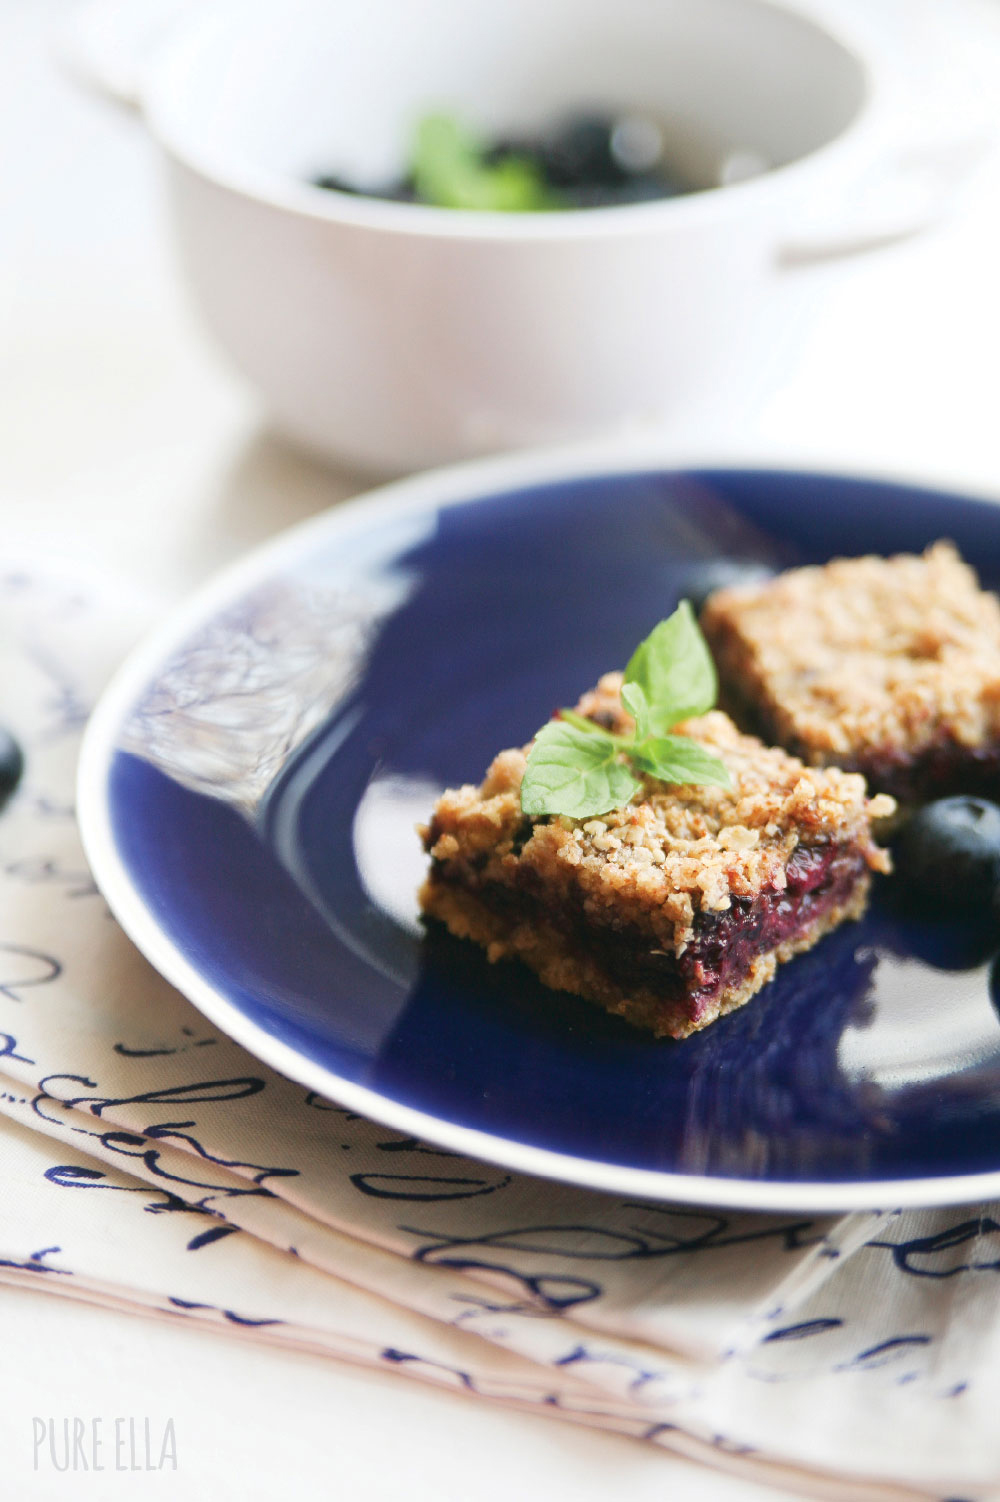
Now, I’m a mom and am realizing how these traditions grow on you. It’s unintentional, often unplanned, but once the weekend comes I get a baking itch and get excited about what to make… and then this happened. A simple, easy, throw-it-together-in-one-bowl kind of a cake. Blueberry & Blackberry Crumb Squares ~ made healthier without gluten, dairy, eggs, cholesterol and white sugar. Simple pure ingredients at their best danced into this recipe.
BLUEBERRY BLACKBERRY SQUARES
Ingredients :
1 cup gluten-free all-purpose flour
1/2 cup almond flour
1/2 cup rolled oats or quick oats
1/2 cup organic raw cane sugar
1/4 coconut sugar
3/4 cup coconut oil, cold & hardened
1 1/2 cups organic blueberries
1 1/2 cups organic blackberries
+ 3 tablespoons of water (if needed)
DIRECTIONS :
Preheat oven to 350F and prep a square 8″x 8″ baking dish with parchment paper.
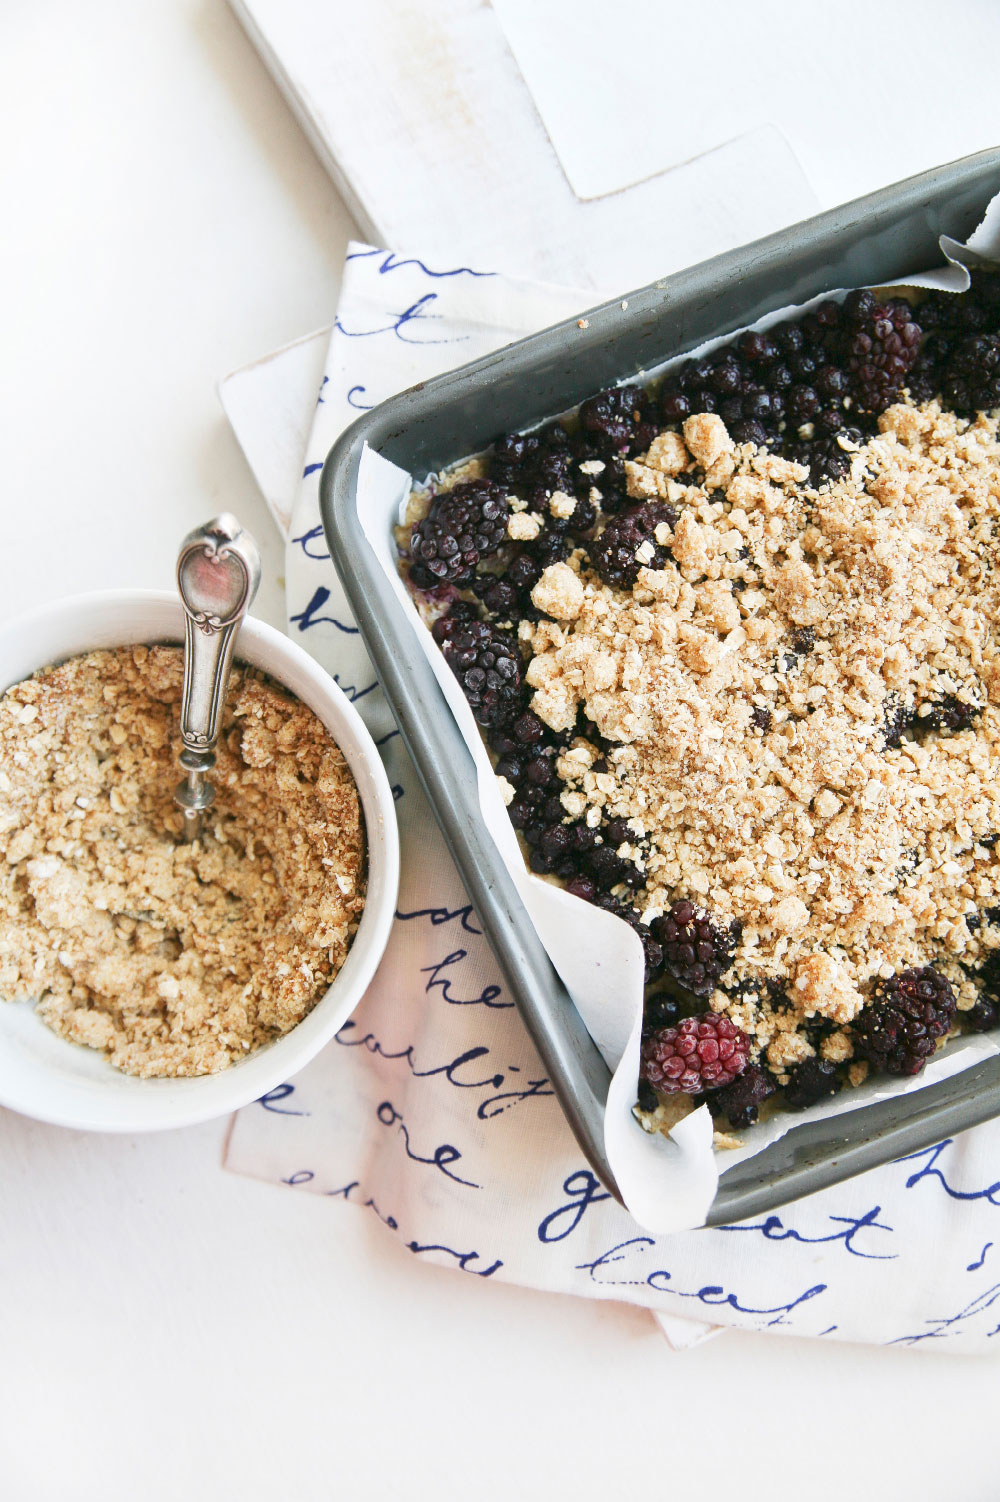
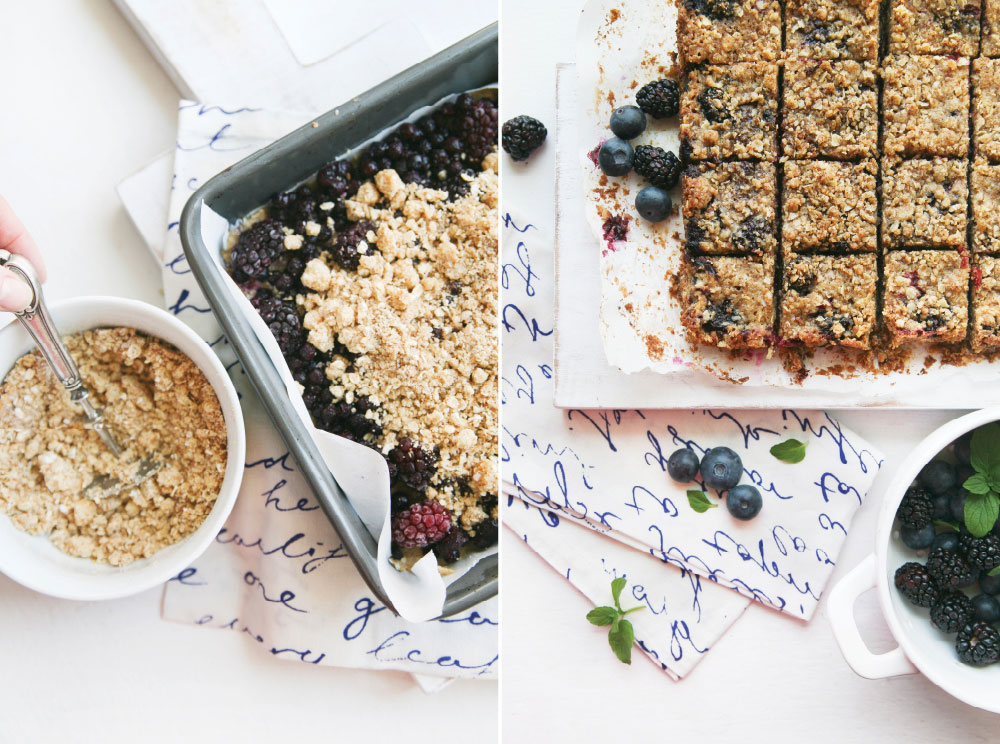
In a large bowl, combine all the dried ingredients (first 4). Add in cold coconut oil and using a dough cutter or a knife keep slicing through the margarine to combine with the dry ingredients. The texture should start to look very crumbly. Remove about 1 1/4 cup of the mixture onto a small bowl and place in the fridge.
Add 3 tablespoons of water into the large bowl with the crumbs and gently mix to form a dough. Do not overmix. Once the ingredients form into one piece, simply scoop out the dough onto the baking dish. Start pressing down the dough with your fingers to cover the full base. If the dough is too crumbly, wet the tips of your fingers with extra water and press down. If the mixture is too wet, simply dust the top with a little extra all-purpose flour and continue pressing to cover the bottom of the pan evenly.
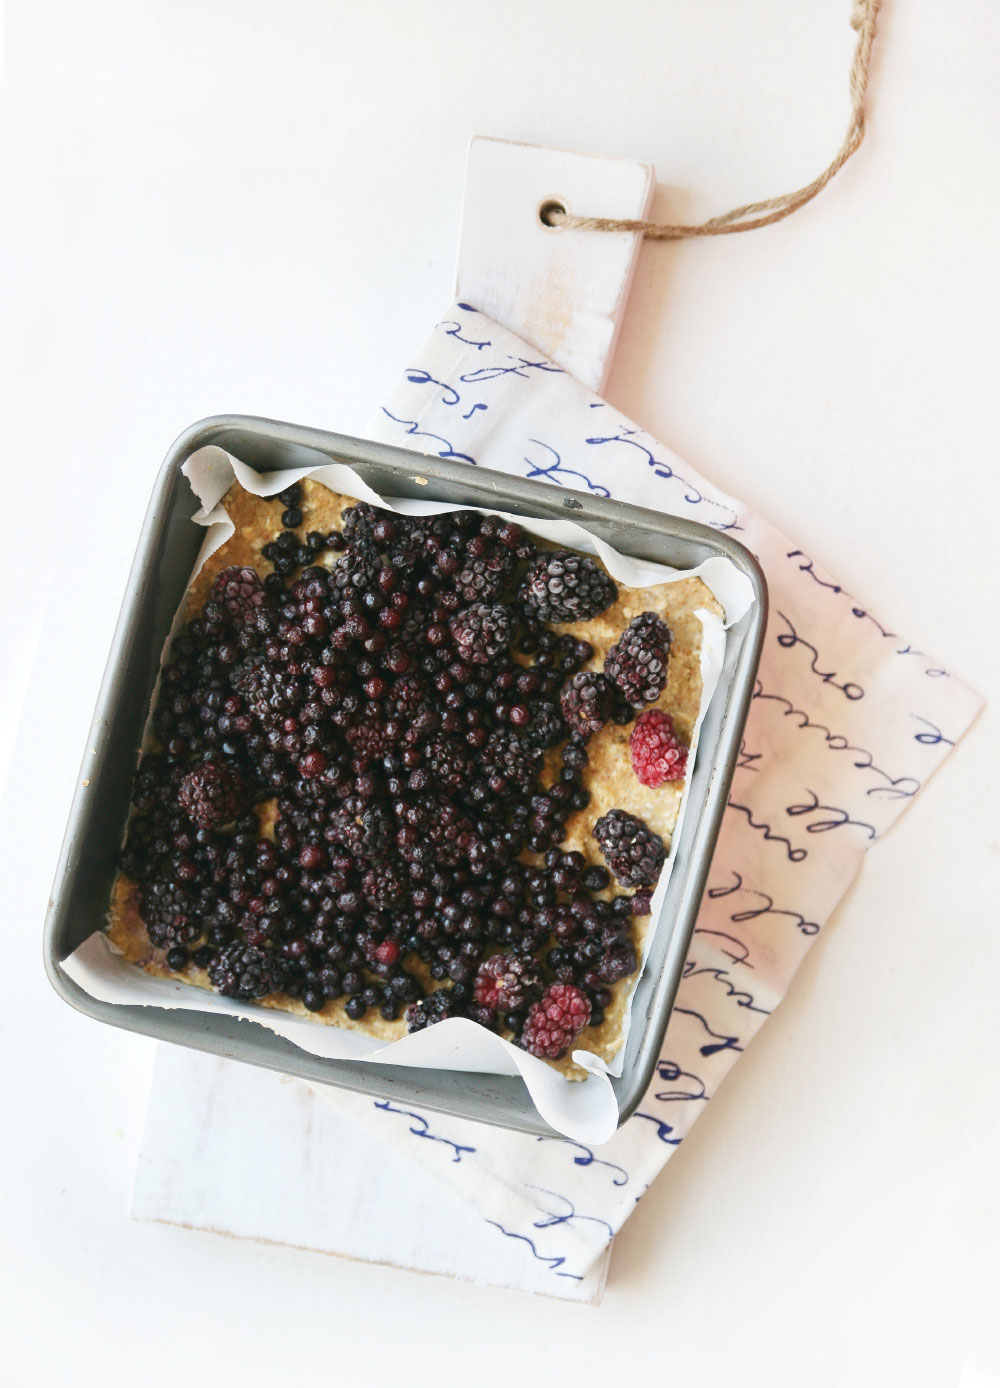
Rinse and pat dry the fruit with a paper towel. Spread out on top of the crust and even out the top.
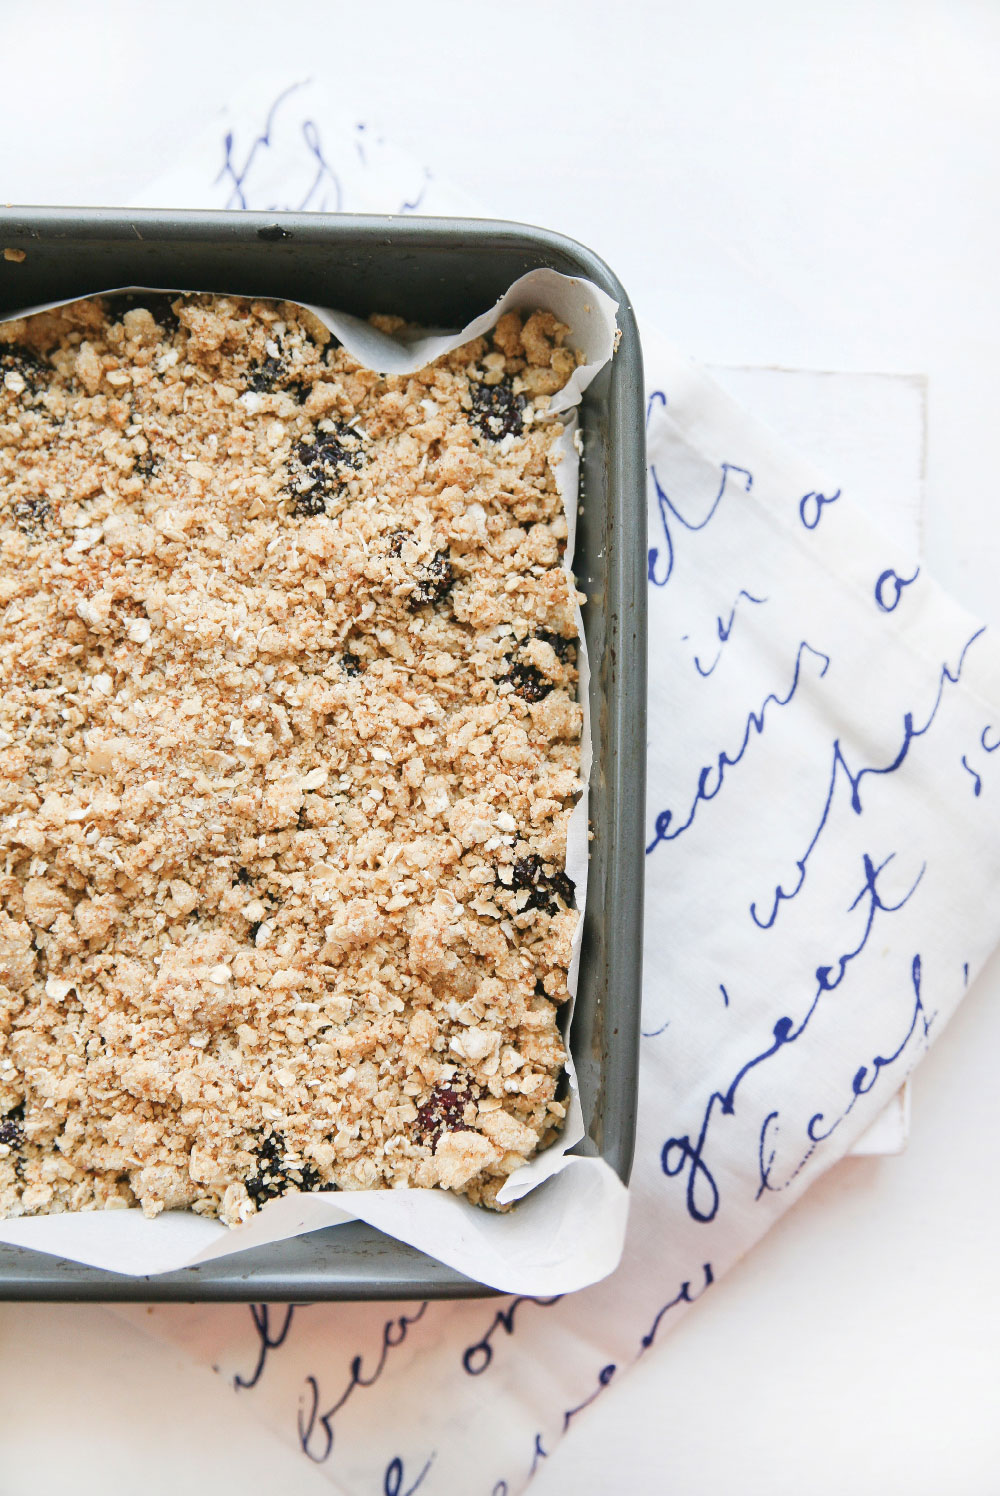
Sprinkle the crumble that’s set aside on top of the pie evenly.
Place in the preheated oven and bake for about 30-40 minutes. Top should be nice and golden.
Remove from oven and allow to cool for about 20 minutes before serving.
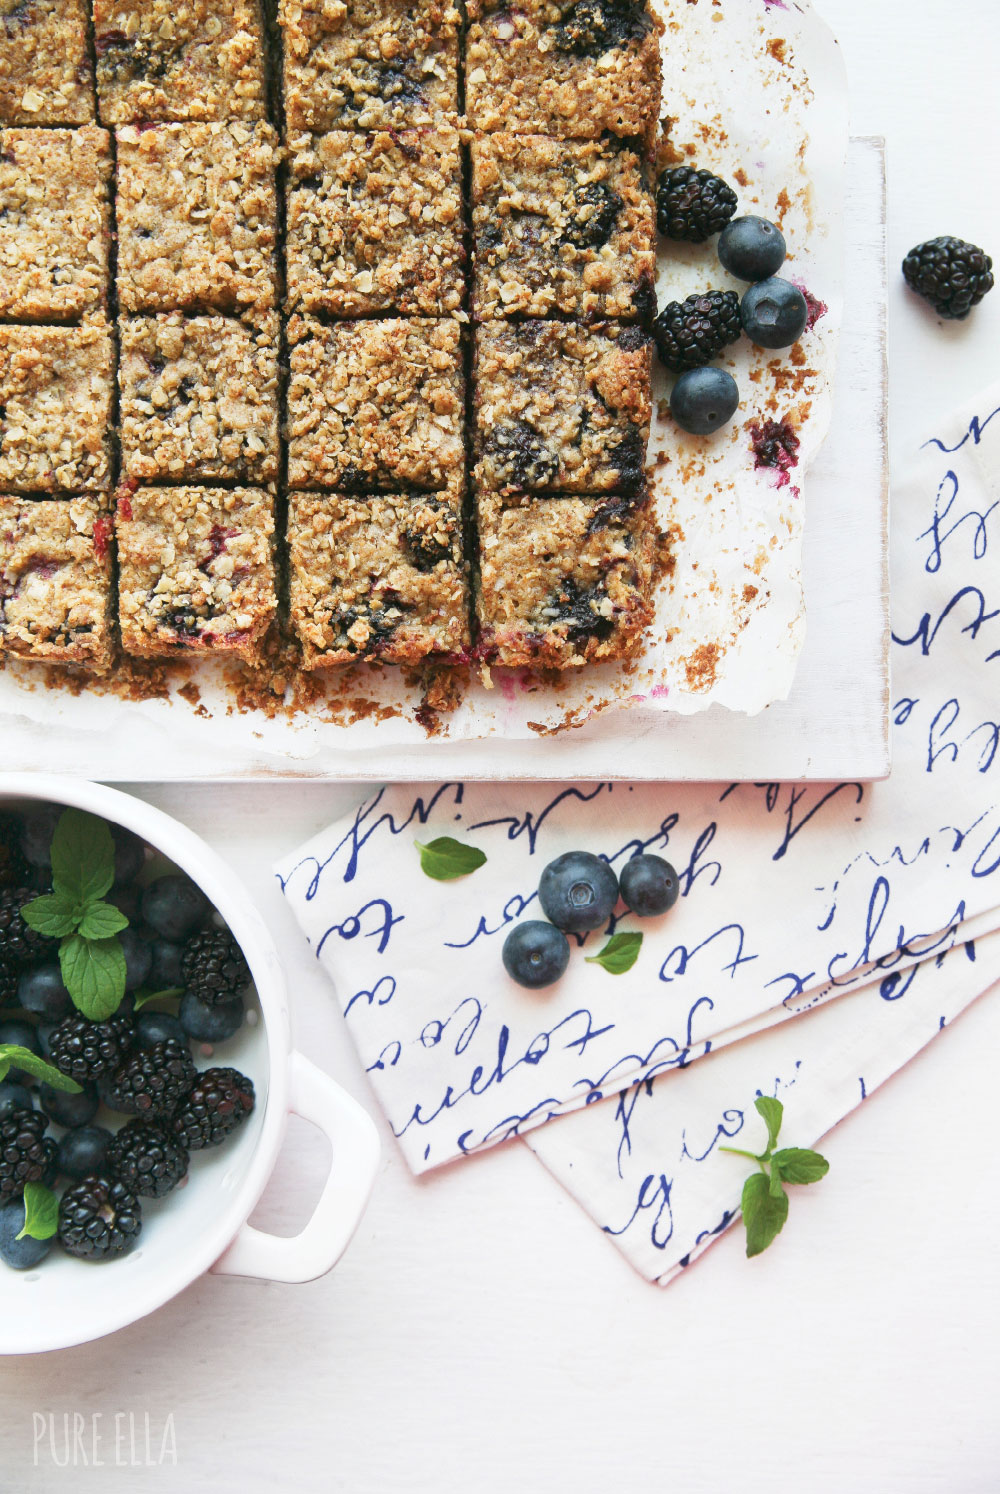
These Crumb Squares are lovely still warm from the oven, just as they’re great the next day straight from the fridge – you decide! ;)
Cutting them however when they are still warm will make them fall apart slightly.
Cut into squares and enjoy making your own weekend baking traditions ;)
ps. they freeze well (see note at the very bottom)
I hope you also have special traditions that you savour… if not, it’s never too late to start them ;)
 Ella Leché is a cookbook author (‘Cut the Sugar‘), recipe developer, and photographer/stylist behind Pure Ella; where she shares delicious and healthy recipes. Eating PURE is clean ingredients, whole foods, plant-based nourishment and delicious desserts – with quality ingredients and sweeteners so they’re treats with benefits so you won’t have to feel deprived or restricted to eat healthier.
Thank YOU for being here!
Follow on social media for daily health & happiness inspiration:
Instagram | Facebook | Pinterest | Twitter
 ps. don’t forget to share your Pure Ella (PE) recipe creations by tagging them #pureella and @pure_ella on Instagram – we repost our favourite photos!
You know what? I love your posts! Thank you so much for sharing all of your delicious recipes. I’ve tried several of them and all are delicious!
Thank you so much Jill! ;)
You always put a smile on my face ;) adds purpose to what and why I do this ;)
Thank you for that… xo
These look delicious Ella xo
Thanks so much Vicky!!!
Sending big hugs your way! xoxo
Oh my goodness, your little colander is absolutely adorable! Also, these bars look to die for. I love that you’ve used almond flour too! :)
Thanks Katie ;)
That colander is my most prized possession!! ;) lol
*hugs* ella
These look SO GOOD! Love the two berry combination!
Thank you Katrina ;)
These berries are meant to be together forever ;)
xox
Ella, These look outstanding. I can’t wait to make them. Seriously! xo
Thanks Kris!! ;)
You will really enjoy them when you do! Hope it’s very soon.. xoxo
Thank you for sharing your beloved tradition with us. I love that you can whip this gorgeous dessert up in no time even when pressed for time. I will def be making this soon. Your photos are absolutely stunning..such an inspiration!
What a wonderful recipe to keep up your Sunday baking tradition with! I’m going berry picking next week and looking forward to having some baked berry creations of my own soon.
Yum! I’m definitely trying this recipe!!!
Hey Ella, I was wondering if you mind if I use a picture from this post for a “weekend reading” post? I love this recipe and want to link it, and it would just look nicer if I could use your picture to illustrate why I link to it :)
Hi Kat,
Sorry, I didn’t see this for some reason earlier…
Yes, I would be happy if you shared the photo with the link to the recipe on my site, and thank YOU for asking ;)
xoxo
Ella
Just wondering, what keeps the filling from becoming extremely runny? I noticed there’s no sort of thickener (corn starch, sugar, tapioca etc.) for the fruit, does the filling become firm enough to cut up the bars without them disintegrating?
I used frozen berries and it worked great. If using fresh berries, try to pat them dry as best as possible.
If you like, you could add 1/4 cup breadcrumbs to absorb more of the moisture. They were a bit moist that you couldn’t hold them up with your hands and eat but were great to eat off a plate with a fork :) Hope this helps. Let me know how they turn out for you :) xox